
Brother printers are well-known for affordability and efficiency, especially in offices. Setting them up is straightforward:
Step 1: Unbox and Prepare
-
Take out the printer and remove all packaging tapes.
-
Place it in a suitable spot with easy Wi-Fi access.
Step 2: Install Toner/Ink and Paper
-
Insert toner cartridges (for laser models) or ink cartridges (for inkjet).
-
Load paper into the tray.
Step 3: Power and Connect
-
Turn on the printer.
-
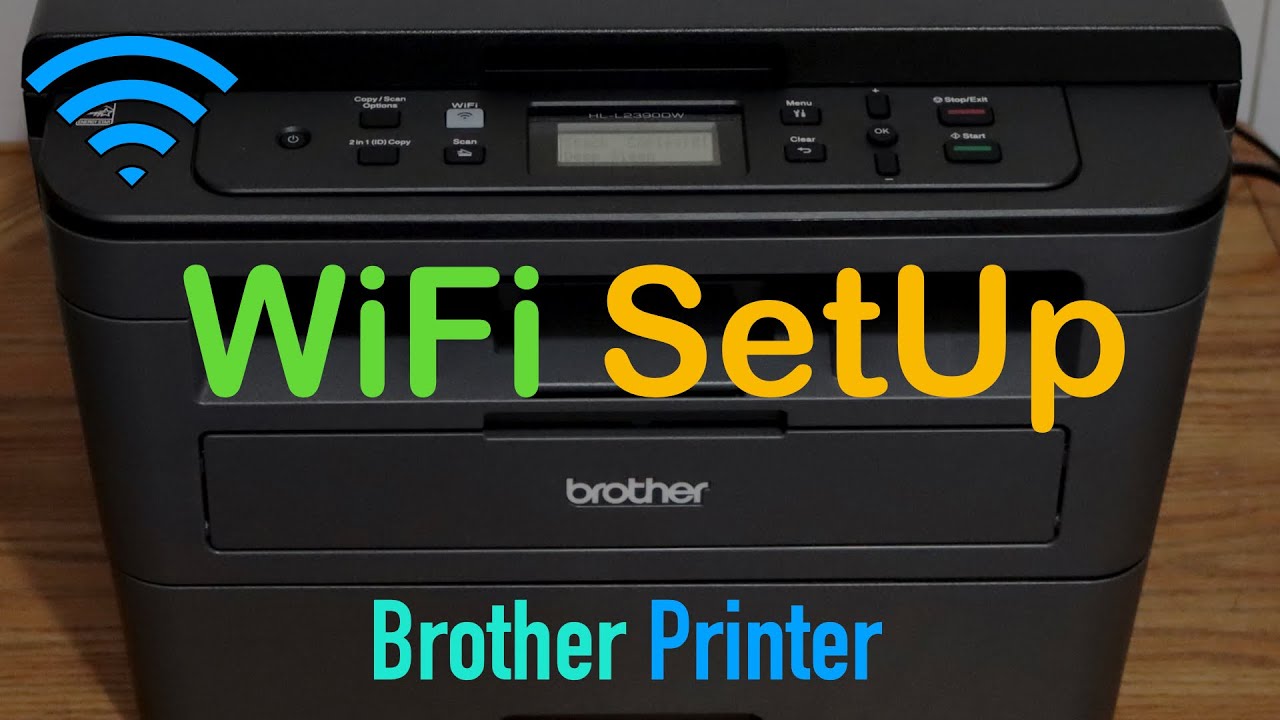
On the control panel, go to Menu → Network → WLAN → Setup Wizard.
-
Choose your Wi-Fi network and enter the password.
Step 4: Install Brother Software
-
Download and install the driver package from support.brother.com.
-
Follow the on-screen steps to add your printer.
Step 5: Test Printing
-
Print a test page to check alignment and connectivity.
✅ Tip: Brother printers also support AirPrint (Apple) and Google Cloud Print for mobile devices.


